Part 1: UI Layout and Customizing
Learning Objectives
By the end of this session, you should be able to:
- Layout your shiny app using
{bslib} - Style your shiny app using
bslib::bs_themer() - Style your shiny app plots using
{thematic} - Create a
brand.ymlthat works with shiny apps - Utilize `rintrojs`` to give help for your shiny app
What are Shiny UIs?
- Underneath, it’s HTML + JavaScript
- Built on a library called Bootstrap
- JavaScript gives us the power to update parts of the HTML dynamically
Language of the Web
Shiny
HTML
<div class="form-group shiny-input-container">
  <label class="control-label" id="dept-label" for="dept">
    Select Department
  </label>
  <div>
    <select id="dept" class="form-control">
      <option value="Ancient Near Easter Art" selected>Ancient Near Easter Art</option>
      <option value="American">American</option>
    </select>
  </div>
</div>
Layout Your Shiny App with {bslib}
What is {bslib}?
- Short for BootstrapLibrary
- Code for layout as dashboards
- Allows for applying theming /
brand.yml
Components of {bslib}
- card
- sidebars
- value boxes
Layouts
layout_sidebar()layout_column_wrap()layout_columns()
Pages
page_sidebar()/sidebar()page_navbar()/navbar()page_fillable()/layout_
Cards
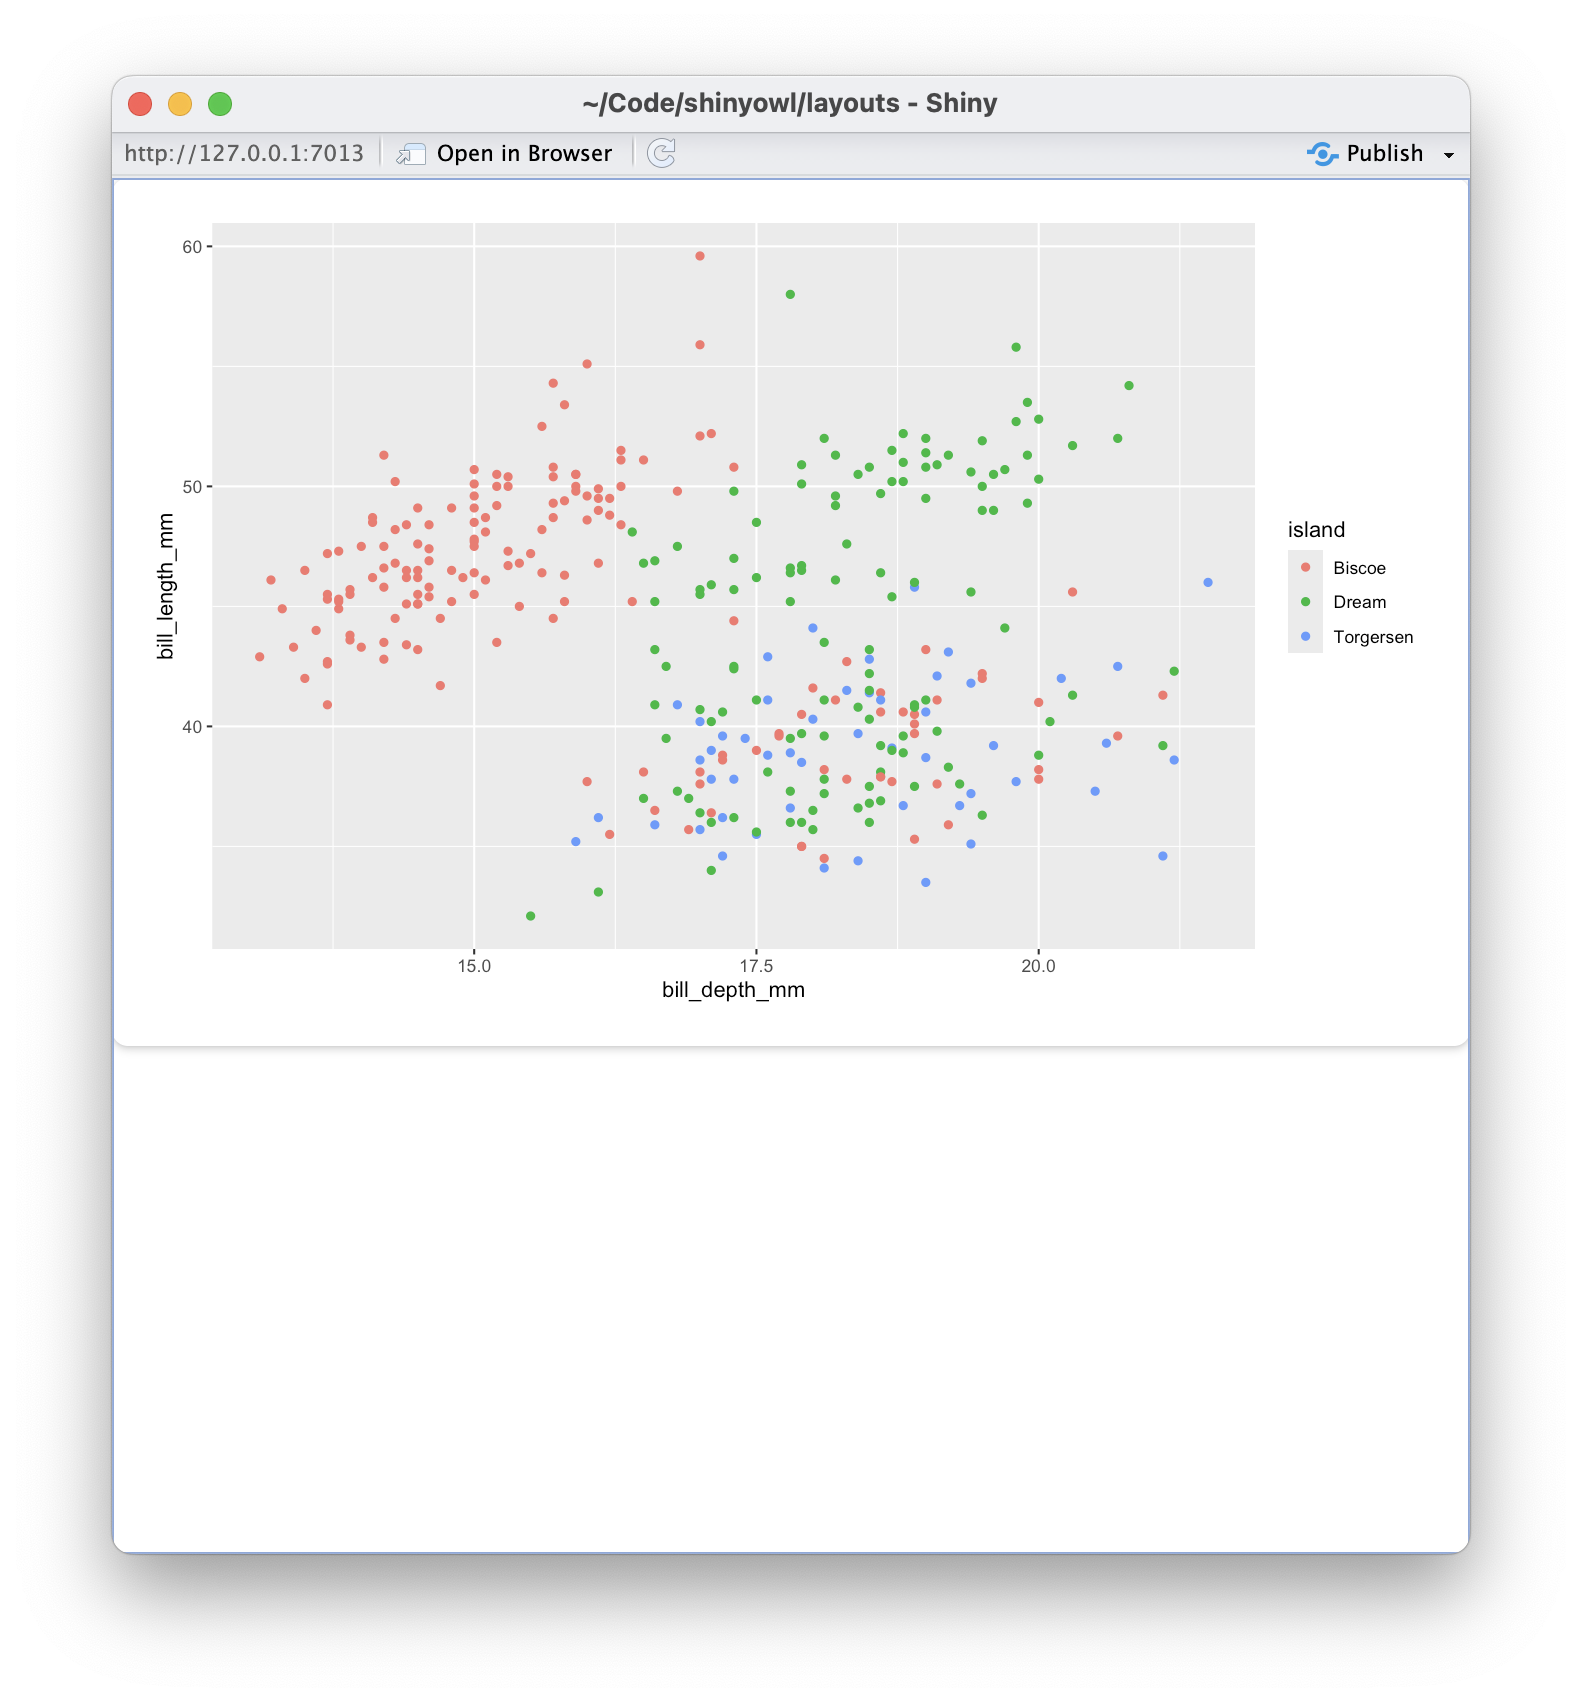
runApp("layouts/app_card.R")
page_sidebar()
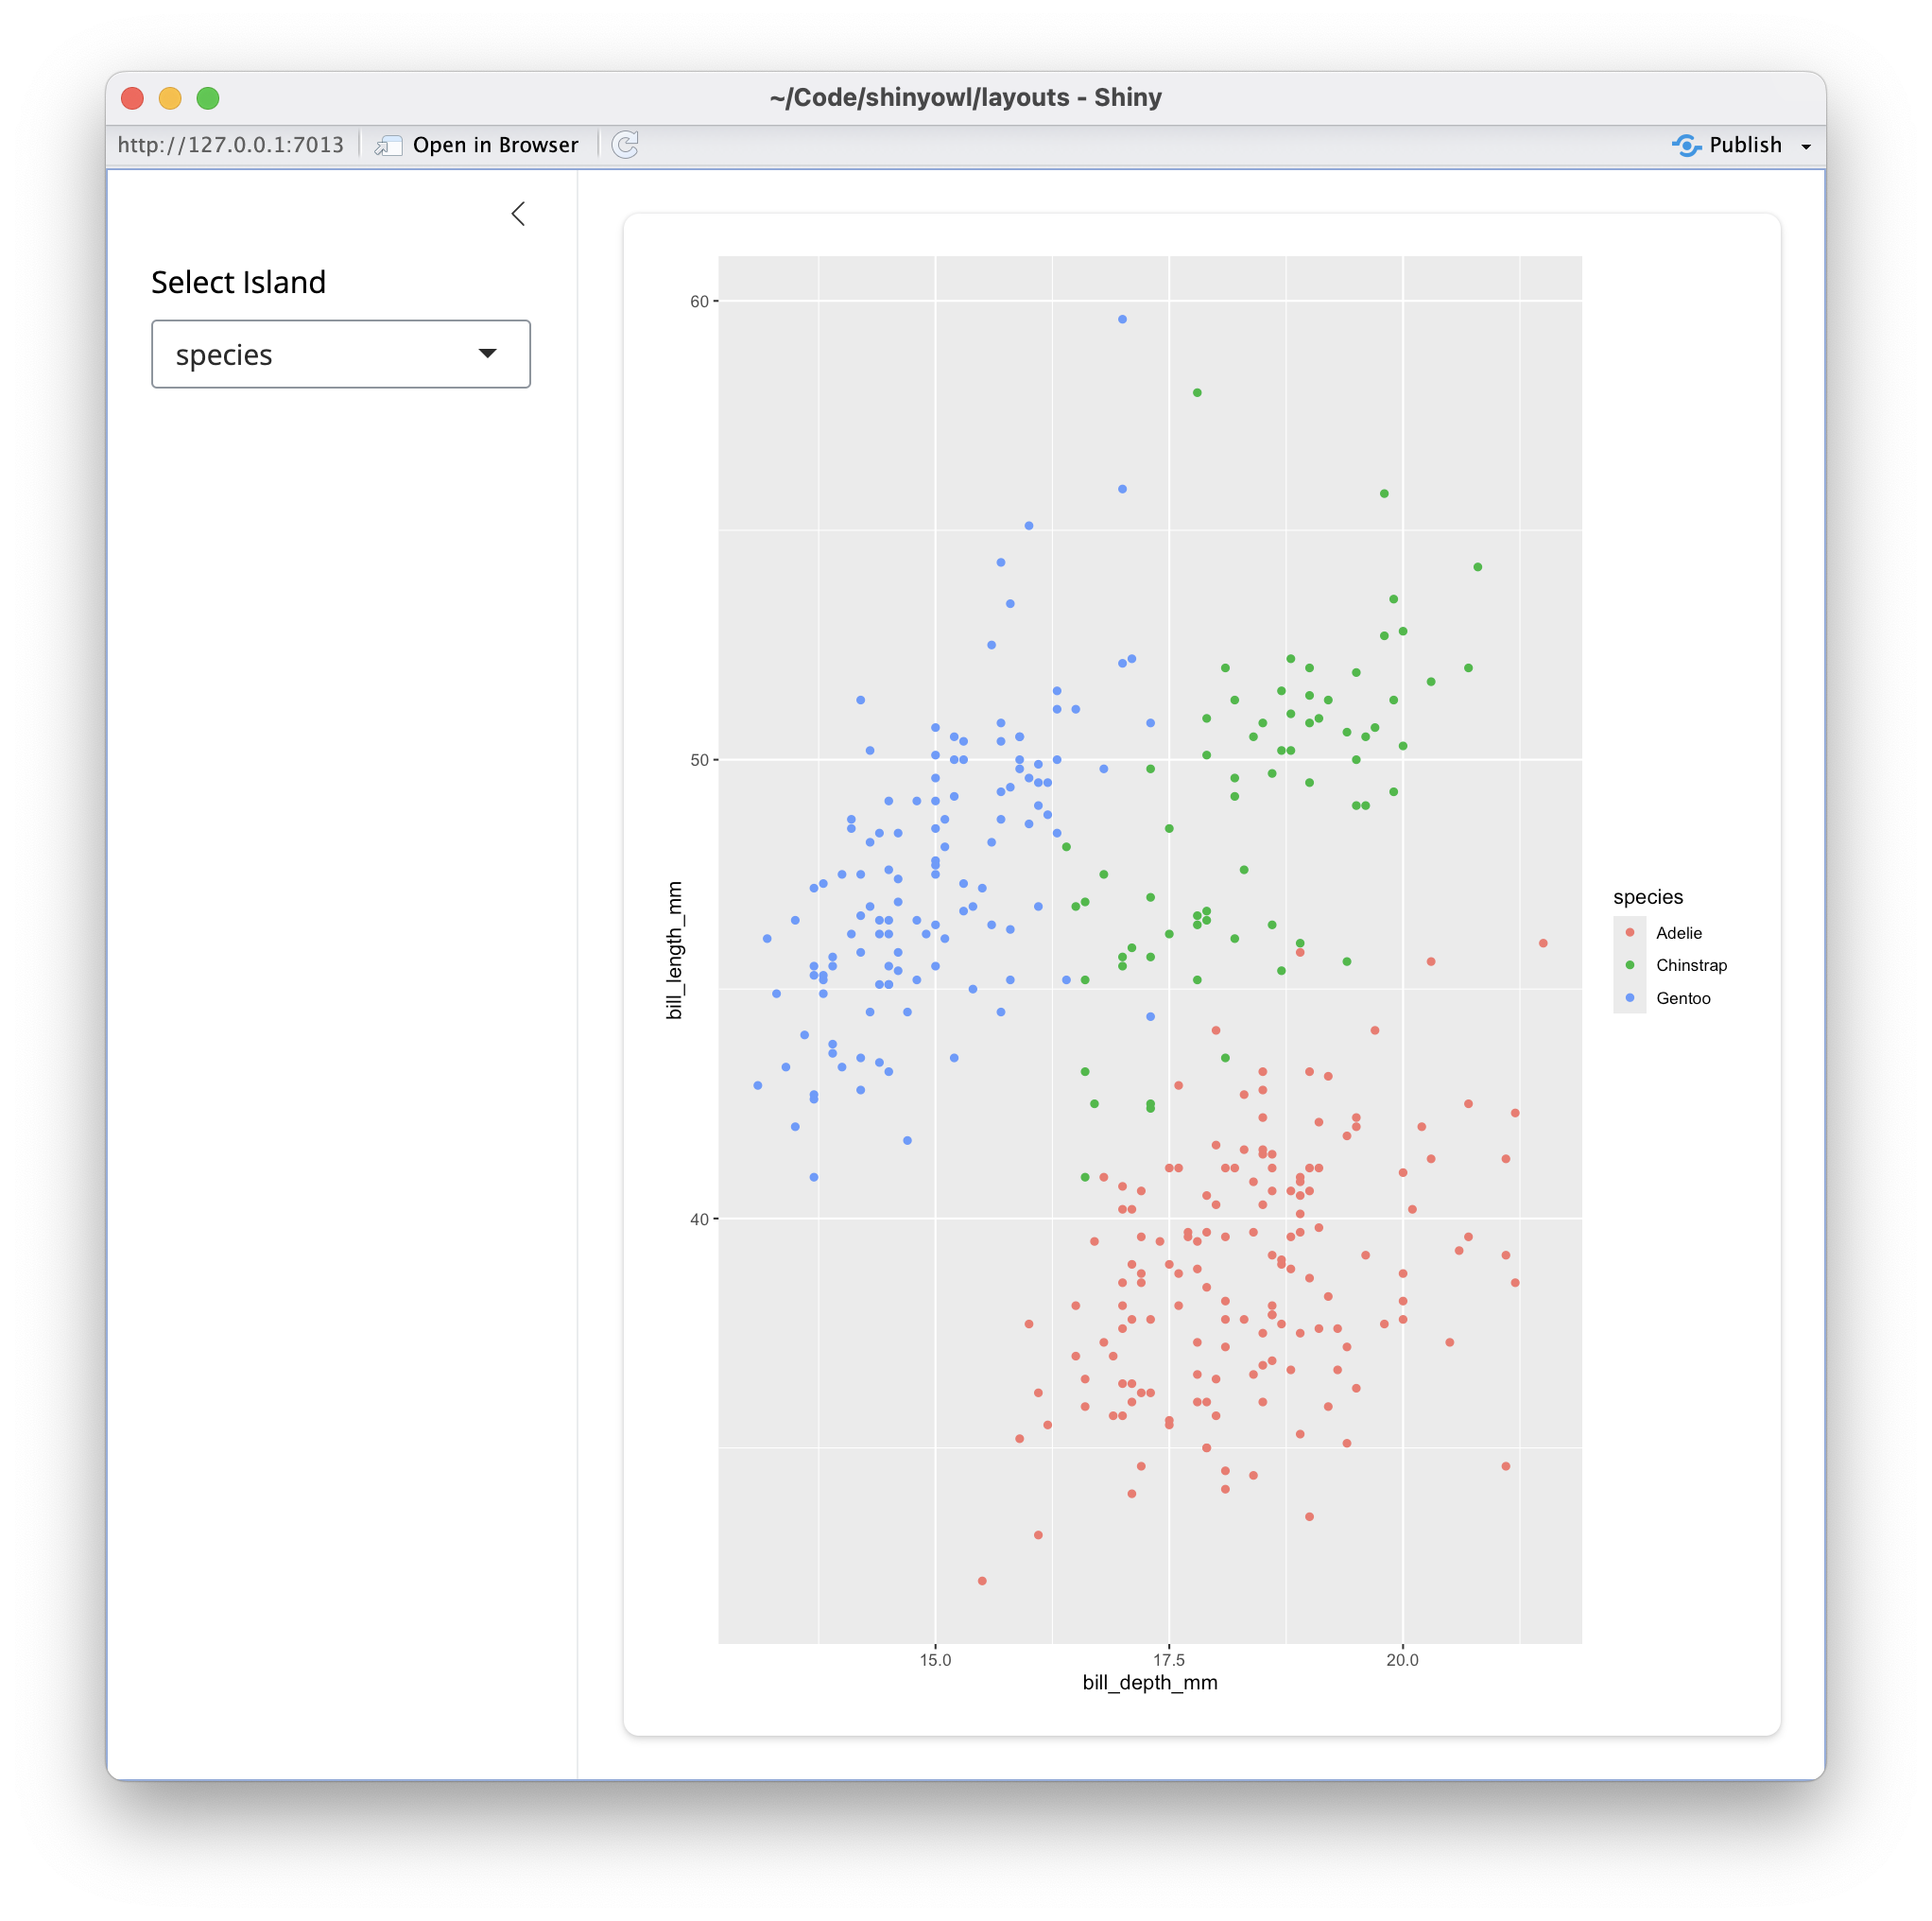
runApp("layouts/app_sidebar.R")
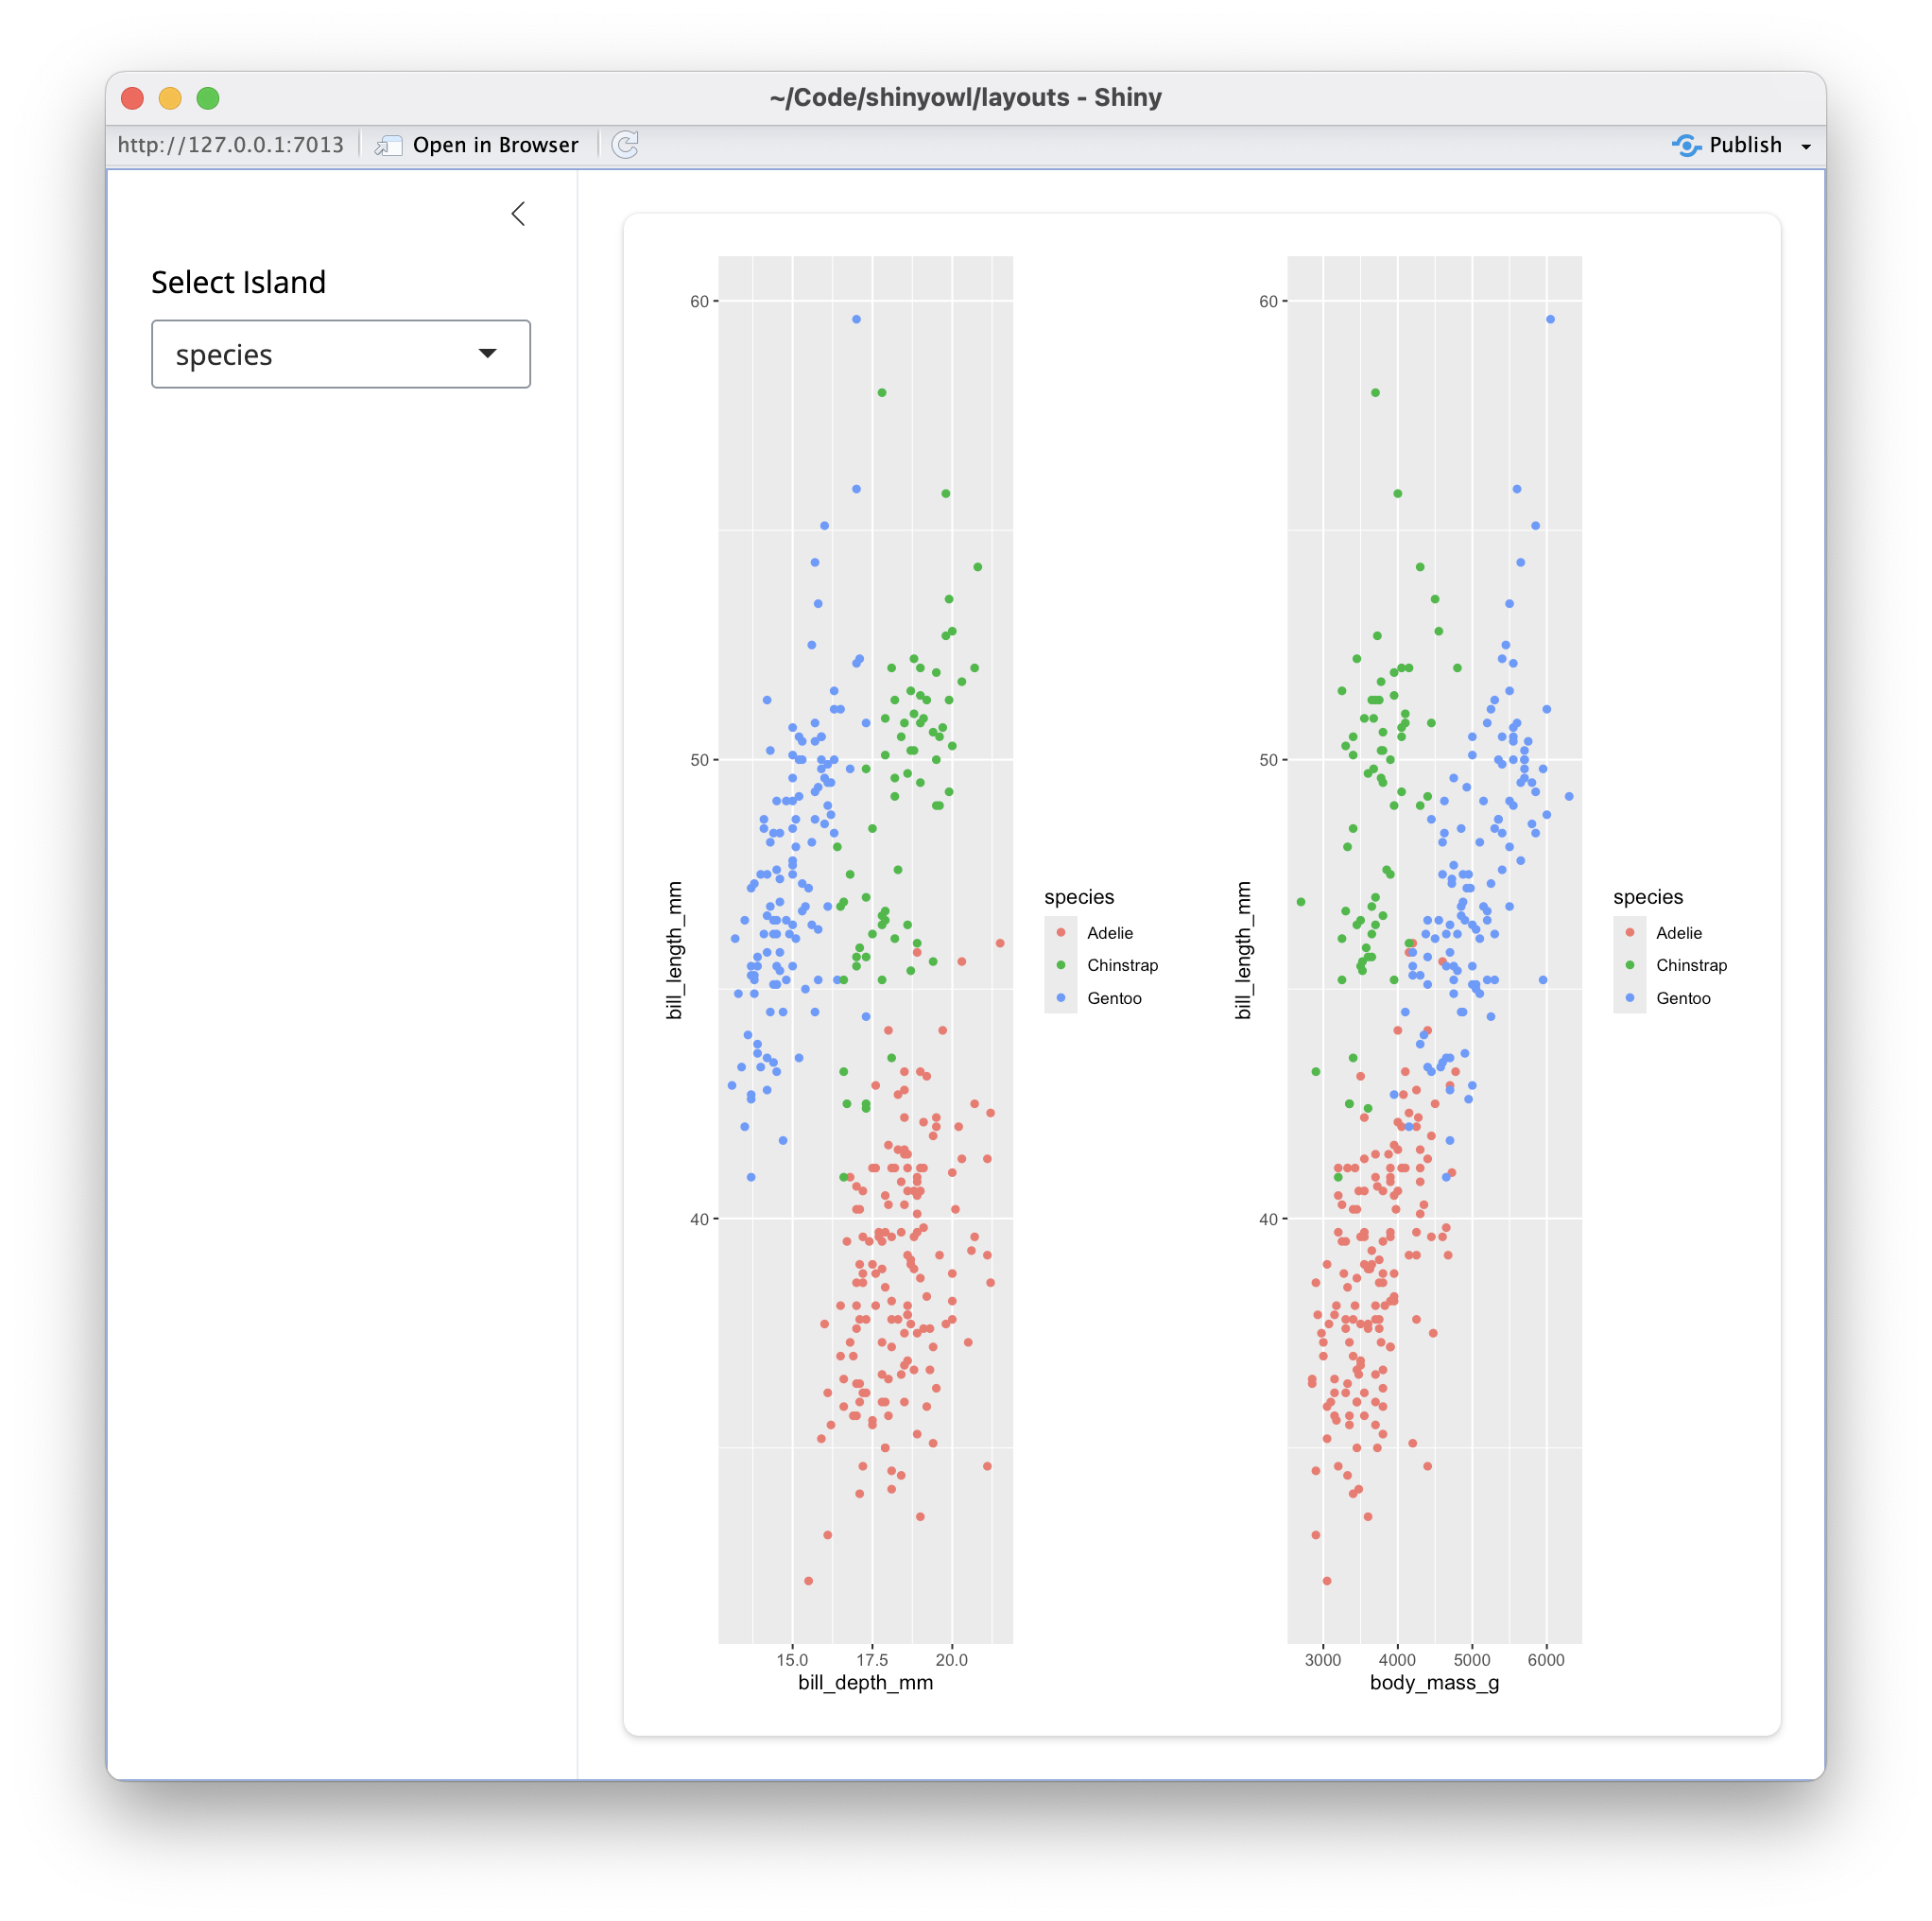
layout_column_wrap()
runApp("layouts/app_layout_column.R")
Value Boxes
Dynamic Value Box
See runApp("layouts/app_bslib_box_dynamic.R")
Laying out value boxes
Exercise
Modify the value_box code in layouts/app_bslib_box_layout.R. Try out the following:
- Different colors: check out R-Gallery’s Color Picker
- Different icons: check out Bootstrap Icons
- Different content
If you like, paste it into the Cascadia-R slack channel.
navbars
runApp("layouts/app_navbar.R")- Carson Sievert: Customizing Navbars using {bslib}
Styling Your App
Design/HTML is all about containers
<div class="form-group shiny-input-container">
  <label class="control-label" id="dept-label" for="dept">
    Select Department
  </label>
  <div>
    <select id="dept" class="form-control">
      <option value="Ancient Near Easter Art" selected>Ancient Near Easter Art</option>
      <option value="American">American</option>
    </select>
  </div>
</div>
Cascading Style Sheets (CSS)
Set of rules that define how HTML content is presented in the browser
- selector defines which elements on page to apply rule
- property list set properties of elements to specific values
Customizing CSS in Shiny (1)
The good news: you don’t have to learn CSS
Built in Bootstrap Themes
Style your App with {bslib} and {thematic}
- put
bslib::bs_themer()as an argument tobslib::ui_*()functions - add
thematic::thematic_theme()to the app code (beforerunApp()) - use
run_with_themer()on an app to style it
Example:
Exercise
Try running the following code below and change the background and foreground variables, as well as primary and maybe even the font. Cut and paste your bs_theme_update() code into the Slack to share your creation.
Full List of Bootstrap Options
Be on brand with brand.yml
What is brand.yml?
- YAML file that has your brand defaults
- usually
_brand.yml
- usually
- When your org has branded colors, logos, and fonts
- Top level way to specify:
- Colors
- Fonts
- Logos
- Works well with other styling
brand.yml compatibility
- Shiny layouts (including
bslib) thematicplot styling- Quarto Dashboards
- PDF (via typst)
- HTML outputs (
revealjs)
brand.yml example
logo:                          #set logo
  small: owl-logo.png
  medium: owl-logo.png
  large: owl-logo.png

color:
  palette:                     #set color values (for elements)
    black: "#1A1A1A"
    white: "#F7F7F7"
    light-yellow: "#ECE58B"
    grey: "#908D90"
    pink: "#FFeD8F"
    bg: "#413041"
    fg: "#EEE8D5"
  foreground: light-yellow    #set colors for elements
  background: bg
  primary: grey
  danger: pink
  dark: "#413041"

typography:                  #set fonts
  fonts:
    - family: Roboto
      source: google
  base: Roboto
  headings: Roboto
  monospace: Courier
Using _brand.yml with bslib
Order of Priorities
graph TD
  A["brand.yml"] --> B["bs_theme()"]
  B --> C["custom.scss"]
  B --> D["thematic"]
brand.ymltakes precedence- Can override styles with
bs_theme() - Themes will be auto populated from
brand.ymlintobslib()layouts and plots usingthematic() - Customize for specific classes with
.scssfile
Exercise
- In your project, look at the
_brand.ymlfile and try uncommenting the various lines, especiallyforegroundandbackground - Reload
app_bs_themer.Rand see changes. - Try running
run_with_themer()for the app and apply the themes again - How does the
_brand.ymlaffects the themes?
Overriding brand.yml
- May want to add more styling to specific elements
- Can add a
.scssfile. - Bootstrap Variables
Improving User Experience (UX)
Accessibility
Prioritizing accessibility leads to better UX!
- Keyboard navigation (without mouse)
- Visualization color palettes accounting for vision deficiencies
- Metadata for HTML tag attributes
{rintrojs}
- I used to show
{cicerone}- but that project is now depracated {rintrojs}- walk through UI elements- each UI elemnt needs to be wrapped in
introBox() - add
data.stepanddata.introto each UI element.
- each UI elemnt needs to be wrapped in
Example
  tabPanel("Tree Explorer",
           rintrojs::introjsUI(),             #initialize rintrojs
           actionButton("help", "Help", icon = icon("circle-question")),
           introBox(                           #Wrapper for UI element
           selectInput("covariates", "Click Box to Add Covariates",
                       choices = covariateNames, multiple=TRUE),
           data.step = 1,                      #Step Number
           data.intro = "<p>Welcome to the Palmer Penguin dataset. We're going to try to predict the Species of Penguin (Adelie, Chinstrap, Gentoo) using a conditional inference decision tree using the {party} package.
           Click the selector box to start adding a feature to the model."
), #Wrapper for UI element- Try the example at https://tladeras.shinyapps.io/penguin_party/
- Code is here: https://github.com/laderast/partyExplorer
Resources
![]()
https://bit.ly/shinyowl/layouts/